 |
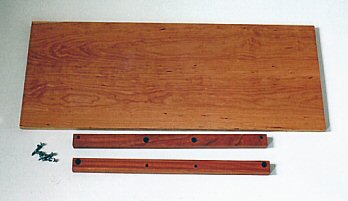
Locate Lower Shelf Parts (1) Lower Shelf Board
(4) 1/4" X 2" screws (4) 1/4" X 5/8" washers |
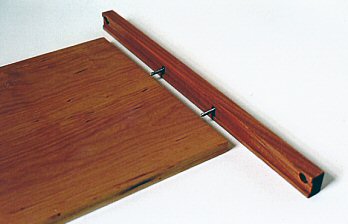 |
Attach Shelf Supports to Shelf Board. Use the
2" Screws with (1) washer under each of their heads. Make sure Shelf Board fits into slot in Shelf Support. Also, make sure offset holes in both Shelf Supports are facing the same way. Wax screws prior to insertion. |
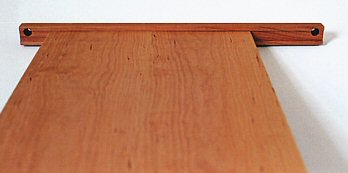 |
Lower Shelf Assembly should look like this. |
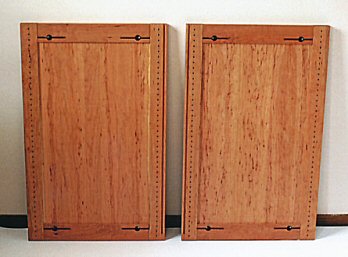 |
Arrange End Frame Assemblies as shown. Left End Frame Assembly
Left rear Leg "LR" Right rear Leg "RR"
|
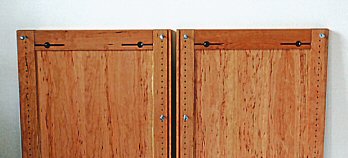 |
Install (4) 3" screws with (2) washers under
their heads into top most holes Install (2) 3" screws with (2) washers under their heads into the 15th hole (from the top) of the Rear Legs .
|
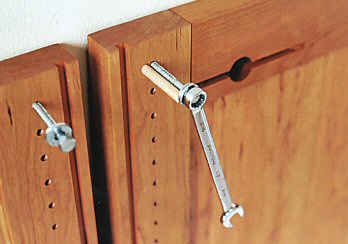 |
Use Gauge Pin to set screw height Wax screws prior to insertion
|
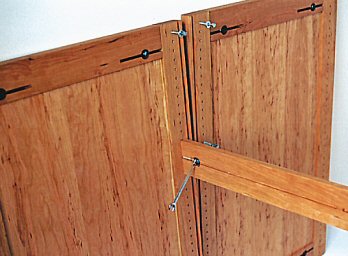 |
Attach the Frame Rail onto screw in the Left Rear Leg. Make Sure the 2 washers are under the head of the screw, and not between the wood parts. |
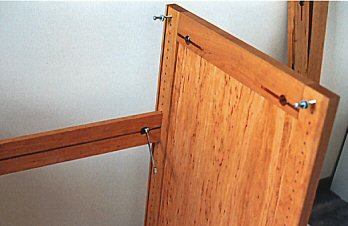 |
Attach the other end of the Frame Rail onto Screw in the Right Rear Leg |
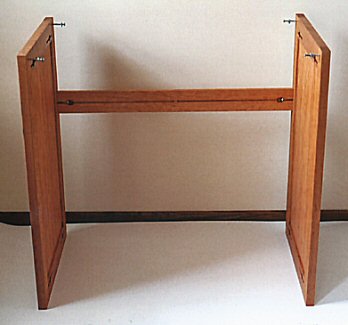 |
Your Table should now look like this |
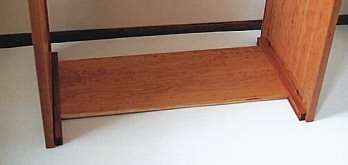 |
Slide Lower Shelf Assembly between the End Frame assemblies. |
 |
|
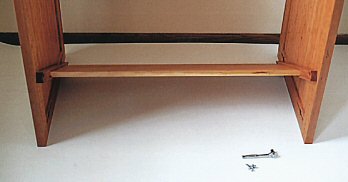 |
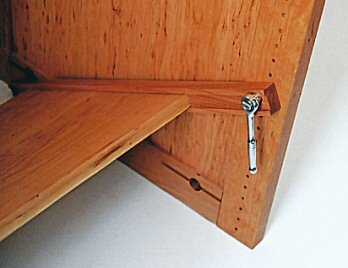
Attach Lower Shelf Assembly to End Frame assemblies. Use (4) 1/4" X 1 1/2" Screws with (1) 5/8" washer under each screws head. Wax screws prior to insertion. |
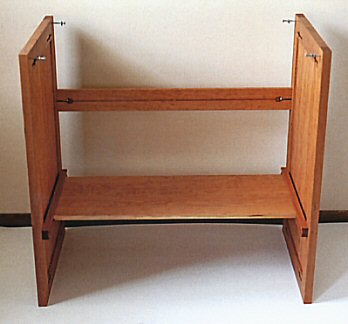 |
Your Table should now look like this. |
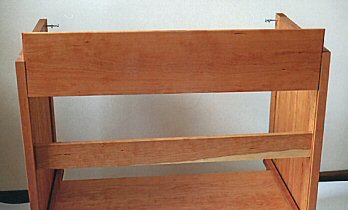 |
Slide Rear Valence Boards into slots in Rear
Legs. Board #1 goes in first (on the bottom) Boards are marked on the sides. |
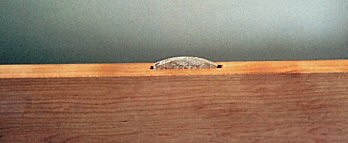 |
Insert football shaped Splines between the Boards |
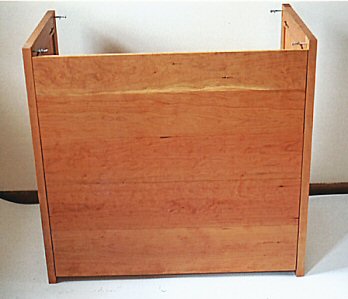 |
Your Table should now look like this. |
 |
Attach Storage Tray slides to End Frame assemblies.
|
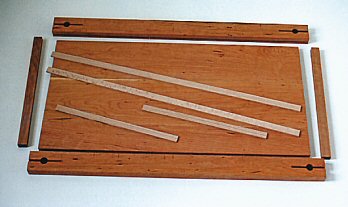 |
Arrange Table Top parts as shown.
Table Top is assembled upside down. Table Top Table Top Spline Table Top Board Side Table Top Rail
|
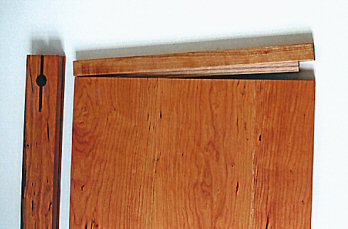 |
 Table
Top Board Side Table
Top Board Side
Attach Table Top Board Side to Table Top using the Table Top Spline |
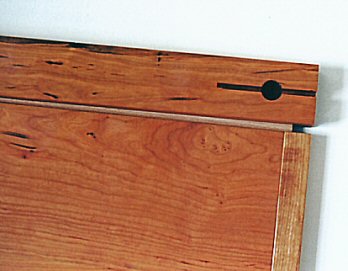 |
In a similar manner, attach Table Top Rails to Table Top |
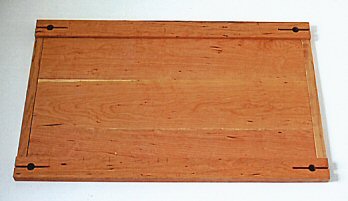 |
Table Top Assembly should look like this |
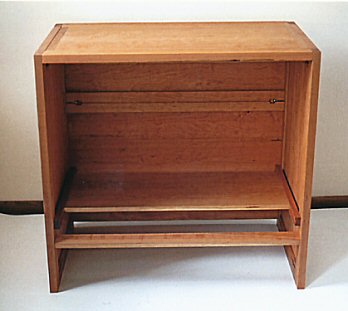 |
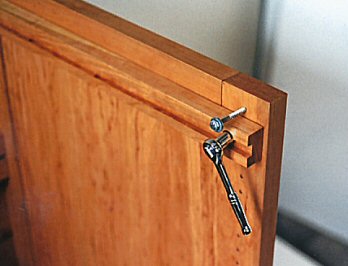
Drop Table Top Assembly onto screws in End
Frames.
2 people make this job easier Tighten screws.
Attach Foot Rail to End Frame Assemblies.
|
